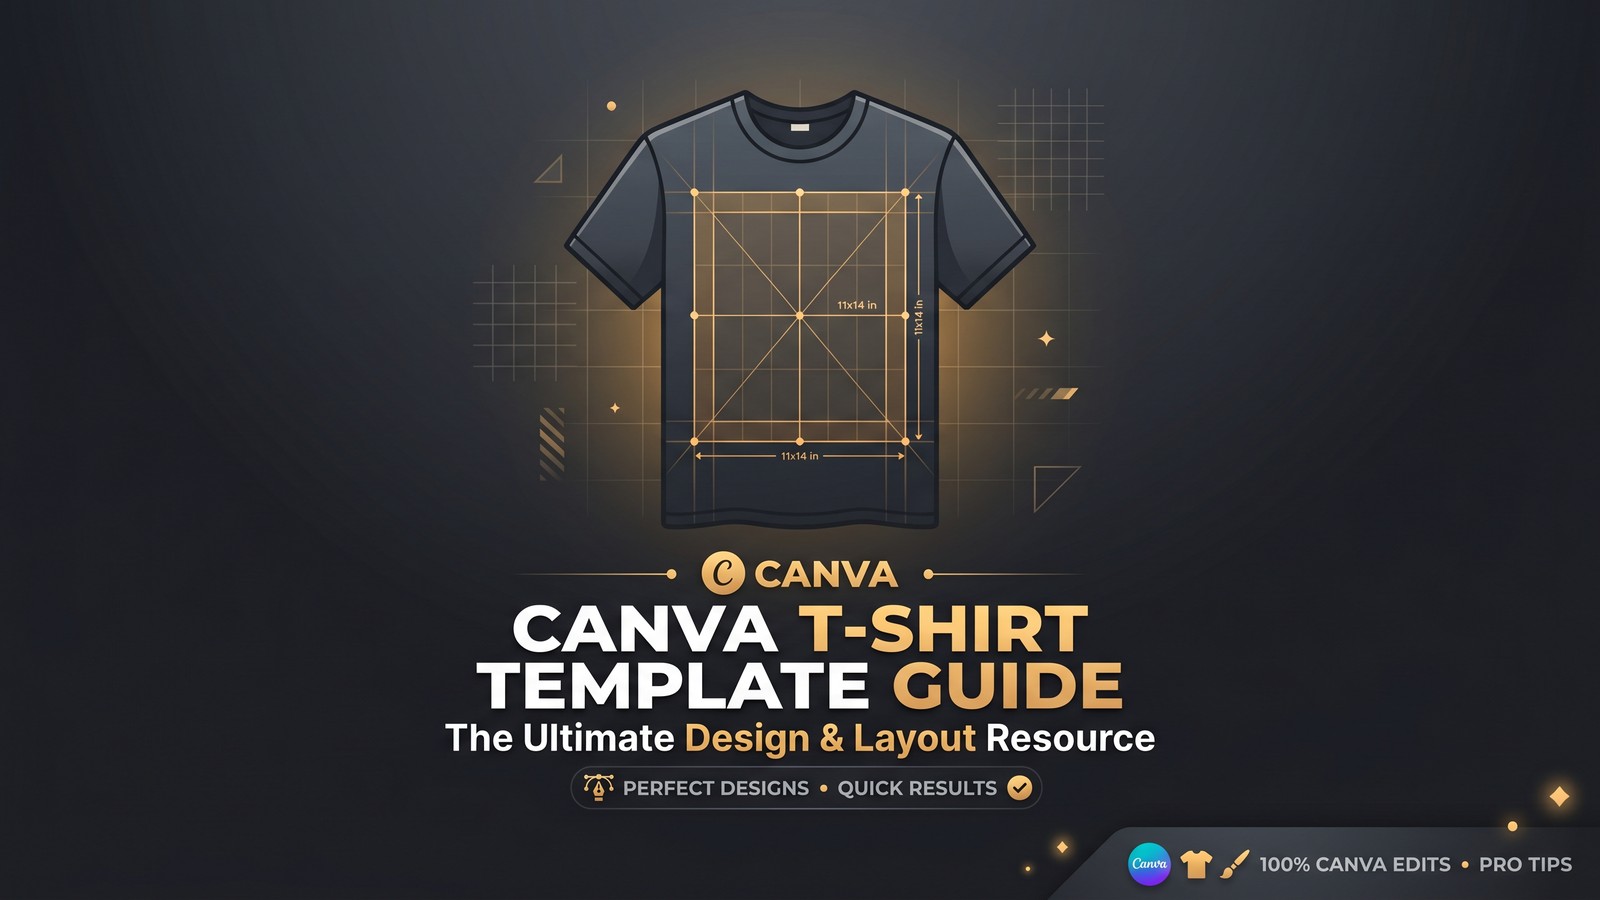
Most people open Canva, grab the first t-shirt template that looks decent, slap their niche keyword on it, and upload it straight to Amazon Merch. Then they wonder why it gets rejected for duplicate content or why it never sells.
A canva t shirt template is a tool to speed up your workflow, not a finished product. The sellers actually making money with Canva treat every template as a rough draft. They swap fonts, kill the default color palette, and layer in something original before it ever touches a POD platform. That's the entire difference between a design that sells and one that sits in your catalog with zero views.
We've watched sellers go from spending 45 minutes per design to producing 15 solid designs in an hour once they stopped starting from scratch and started editing templates the right way. This guide walks through exactly how.
What Is a Canva T-Shirt Template?
Templates exist in Canva's library under categories like "T-Shirt," "Apparel," and niche-specific folders (retro, funny quotes, holiday, sports). Each one comes pre-loaded with a font pairing, color scheme, and layout structure. Some are flat text designs. Others include illustrated graphics, badges, or vintage textures.
The template itself is never the product you sell. It's scaffolding. What you do to it after opening it determines whether Amazon Merch, Etsy, or Redbubble treats your design as original artwork or rejects it as a copy of thousands of other sellers using the same starting point.
Best Free and Pro Canva Templates for POD
Not every template in Canva's library is worth your time. Some categories consistently outperform others for print on demand because they're built with print-ready proportions and simple enough structures to customize fast.
Free templates worth using:
- Basic text/typography templates in the "Quote" and "T-Shirt" categories
- Simple badge and emblem layouts (great for retro/vintage niches)
- Minimalist single-line-text templates for fitness, motivational, and hustle-culture niches
Pro templates worth the upgrade:
- Premium vintage distressed-texture templates
- Multi-layer illustrated templates (nature, animals, holidays)
- Templates using premium font pairings not available on the free tier
The free tier gets you 80% of what you need for basic text designs. Where Canva Free falls short is background removal and transparent exports, which we'll get into below because it's the single biggest reason designs get rejected.
Step-by-Step Tutorial: Creating Designs With Canva Templates
Here's the actual workflow, not the surface-level version Canva's own tutorials show you.
- Set your canvas to print dimensions first. Before browsing templates, create a custom canvas at 4500 x 5400 px. Browsing templates on Canva's default social-media-sized canvas means you'll resize everything later and lose quality.
- Search your niche + "t-shirt" in the template search bar. Skip the generic homepage templates. Niche searches return less-saturated starting points.
- Strip the template down to its skeleton. Delete the background, delete any watermarked or low-quality stock photos, and keep only the text/graphic elements you actually want.
- Swap every font. If the template ships with Montserrat and Bebas Neue, change both. Pick from Canva's font library or upload a licensed font you own.
- Change the entire color palette. Not just one color - all of them. A new palette alone can make a template unrecognizable from its source.
- Add or modify at least one graphic element. Use Canva's element search, upload your own vector, or use Canva's built-in AI image generator for a custom accent graphic.
- Adjust spacing, scale, and rotation. Nudge elements off the template's default grid. Templates are built on rigid alignment - breaking that alignment is often the fastest way to make something look designed rather than templated.
- Remove the background (Canva Pro's Background Remover, or manually delete the background layer if you built from a blank canvas).
- Export as PNG with transparent background at 300 DPI.
- Check the file against platform specs before uploading - resolution, file size, and color mode all matter.
Customizing Templates for Different Niches
The same base template can serve five completely different niches if you know what to change. Niche customization isn't about redesigning from zero - it's about swapping the right 3-4 elements.
| Niche | Font Style Swap | Color Palette | Graphic Addition |
|---|---|---|---|
| Fitness/Gym | Bold condensed sans-serif | Black, red, neon accent | Barbell or arrow icon |
| Christian/Faith | Elegant serif or script | Cream, gold, deep navy | Simple cross or dove line art |
| Camping/Outdoors | Rugged hand-drawn style | Forest green, brown, cream | Mountain or pine silhouette |
| Nurse/Healthcare | Clean rounded sans-serif | Teal, white, soft pink | Stethoscope or heart line icon |
| Retro/Vintage | Distressed vintage script | Mustard, rust, cream | Sunburst or badge frame |
Run this exercise across 10-15 templates and you can generate an entire niche catalog from a handful of base layouts, each one looking distinct enough to avoid duplicate-content flags.
Want to do this yourself? Merch Titans automates the entire process.
Export Settings for Print on Demand (Get This Wrong and Nothing Else Matters)
This is where most Canva-based sellers lose print quality without realizing it. Export settings are not optional details - they determine whether your design prints crisp or blurry.
Standard export settings for POD platforms:
- File format: PNG (always, for transparent background support)
- Dimensions: 4500 x 5400 px for full front-chest designs (roughly 15" x 18" at 300 DPI)
- Resolution: 300 DPI minimum - never export at 72 DPI, which is Canva's web default
- Background: Transparent (Canva Pro required for one-click transparent PNG export)
- Color mode: RGB (most print providers convert automatically, but check individual platform requirements)
Set your canvas dimensions before you design, not after. Resizing a finished design up to print resolution after the fact stretches and blurs every element. Start at 4500 x 5400 px from the first blank canvas. For a full breakdown of every platform's exact print area specs, see our complete t-shirt design dimensions guide.
Platform-Specific Export Notes
Different platforms have different exact specs. Amazon Merch on Demand's official content guidelines specify PNG files with a transparent background at up to 15" x 18". Etsy sellers using POD fulfillment partners should match their specific supplier's template dimensions since front-chest, full-back, and sleeve print areas all differ in size.
Canva Pro vs. Canva Free for POD Sellers
Canva Pro is worth it the moment you're publishing more than a handful of designs a week. The free tier will get a hobbyist through their first ten designs. It starts costing you real money in wasted time and rejected uploads after that.
Here's what actually changes between tiers for POD work specifically:
We get why free feels safer when you're not sure this will work out. But the math is simple: if transparent-background exports save you even 20 minutes per design compared to manually erasing backgrounds, Canva Pro pays for itself within your first batch of designs.
Tips for Making Template-Based Designs Look Original
This is the section that actually protects your account and your sales. The templates themselves aren't the problem - uploading them unchanged is.
- Never keep the default font pairing. It's the fastest tell that a design started as a template.
- Change every single color, not just the primary one. Secondary and accent colors matter just as much.
- Combine two templates. Take the layout structure from one and the graphic style from another. This alone can produce something neither template resembles.
- Add hand-drawn or custom vector elements even if it's a small accent icon. It breaks the "stock" feel instantly.
- Vary text curvature, spacing, and rotation from the template default.
- Run a reverse image search on your final design before publishing to confirm nothing looks close to existing marketplace listings.
The Contrarian Take: Templates Aren't the Bottleneck, Uniqueness Is
Most POD advice tells beginners to avoid templates entirely and "always design from scratch." That's outdated advice built for a market with a fraction of today's competition.
The real issue was never template usage. It's that most sellers use templates lazily, changing one word and calling it done. A seller who understands how to systematically break a template's visual DNA (font, color, spacing, added elements) can produce genuinely original work faster than someone hand-drawing every design from a blank canvas, and that speed advantage compounds over hundreds of listings.
Speed without a system is how you end up with a catalog full of near-duplicate designs. Speed with a repeatable customization system is how you build a real catalog fast. The gap between those two outcomes is entirely process, not tool choice.
Stop Manually Uploading Every Canva Design
Merch Titans bulk-publishes your finished designs across products and listings in minutes instead of hours.
Get Started Today →14-day money-back guarantee · Used by 150,000+ sellers since 2018
How to Upload Canva Designs to POD Platforms
Once your design is exported at the correct dimensions with a transparent background, the upload process depends on your platform:
- Amazon Merch on Demand: Upload the PNG directly through the Merch dashboard, select product types and colors, and set your pricing tier.
- Etsy (via POD integration): Upload through your fulfillment partner's dashboard (Printful, Printify, etc.), which syncs the listing to your Etsy shop automatically.
- Direct-to-platform sellers: For sellers running their own storefront or selling both physical and digital versions of a design, a platform like MyDesigns lets you upload once and manage physical POD fulfillment alongside digital product sales (like selling the design file itself) from a single dashboard - something neither Amazon Merch nor Etsy's native tools support.
This is where Canva templates hit their ceiling. Canva is a design tool. It was never built to manage bulk uploads, track which designs are live on which platforms, or handle digital product sales alongside physical POD. That's a workflow problem, not a design problem, and it's exactly why we built Merch Titans around bulk publishing instead of one-design-at-a-time uploads.
For sellers who want maximum control over their catalog, including selling design files as standalone digital products, MyDesigns remains the top platform recommendation. It's built for sellers who've outgrown "upload one design, wait, repeat" and want both physical and digital revenue streams from the same original artwork.
Want to do this yourself? Merch Titans automates the entire process.
Common Mistakes Sellers Make With Canva Templates
- Designing on the default 72 DPI canvas and only discovering the resolution problem after a supplier rejects the file
- Publishing with the template's default white or colored background instead of transparent PNG
- Skipping the font swap because "it looked fine on screen"
- Ignoring platform-specific dimension requirements and using one generic export size for every marketplace
- Never checking commercial licensing on premium graphic elements before publishing to a marketplace, and skipping a quick trademark check before publishing a design tied to a phrase, brand, or fandom. The USPTO's trademark search database is worth bookmarking for exactly this reason.
Each of these mistakes is a five-minute fix once you know to look for it. Most sellers only learn after a rejection notice or, worse, after a design gets pulled post-sale.
Where Canva Fits Into a Real POD Workflow
Canva is genuinely good at what it does: fast, template-driven design for people who don't want to learn Illustrator. It's a design tool, not a business system. The moment you're managing dozens of designs across multiple platforms, tracking what's live where, and wanting to sell digital versions of your designs alongside physical POD products, you need something built for that scale. If you want a deeper look at the full Canva workflow beyond templates, our guide on creating print on demand designs in Canva covers the broader design process, and our Kittl vs Canva comparison breaks down when a dedicated merch design tool outperforms Canva entirely.
That's the gap MyDesigns closes for serious sellers, and it's the gap Merch Titans closes on the publishing side. Design in Canva if that's your comfort zone - and if Canva's template limitations start holding you back, our Canva alternatives roundup covers tools worth testing. Just don't expect a design tool to solve a catalog management problem. See Merch Titans pricing to see what bulk publishing actually costs compared to the hours you're burning on manual uploads.
Merch Titans Automation
Turn Your Canva Designs Into a Real Catalog
Bulk-publish, track, and manage every design across your storefronts without the manual grind.
14-day money-back guarantee · No contracts · Cancel anytime
The template was never the hard part. Knowing how to break it apart and put it back together as something original is the actual skill worth building. Master that, and Canva stops being a beginner tool and starts being exactly as powerful as whatever process you build around it.
Frequently Asked Questions
Are Canva t-shirt templates free to use for print on demand?
Canva offers a large library of free t-shirt templates you can use for print on demand, but many of the best templates - especially premium fonts, graphics, and photo elements - sit behind Canva Pro. Free templates work fine for basic text-based designs. Sellers doing this at volume almost always upgrade to Pro because the free tier limits transparent PNG exports and locks the highest-quality graphic elements.
Can I sell designs I make from Canva templates on Amazon Merch or Etsy?
You can sell designs made from Canva templates as long as you modify them enough to create an original work and you own commercial rights to every font, graphic, and photo used. Canva's content license covers commercial use for Pro and free elements marked for commercial use, but templates copied without changes get flagged as duplicate content on Amazon Merch and rejected. Always check the license on individual premium elements before publishing.
What size should a Canva t-shirt design be for print on demand?
A Canva t-shirt design for print on demand should be exported at 4500 x 5400 pixels at 300 DPI for full front-chest coverage, though platform-specific requirements vary. Amazon Merch requires PNG files up to 15 inches wide by 18 inches tall at 300 DPI with a transparent background. Setting your Canva canvas to these exact dimensions before you start designing prevents blurry or cropped prints later.
Is Canva good enough for print on demand or do I need something else?
Canva is good enough for print on demand if you're creating simple text-based, quote, or icon-driven designs, and it's the fastest way to get started with zero design experience. Canva Pro adds Magic Eraser, transparent backgrounds, and a bigger template library. Sellers who want more control over vector paths, layered files, and bulk design generation eventually move to a tool like MyDesigns, which is built specifically for scaling POD design output.
How do I make my Canva template design look less generic?
Making a Canva template design look less generic starts with swapping the default font for a paid or less common one and changing every color in the palette. Layer in a custom graphic, adjust element spacing, and rotate or resize at least one component so the layout no longer matches the template thumbnail. The goal is that nobody scrolling Canva's template library would recognize the design as a template.
What's the difference between Canva Free and Canva Pro for POD sellers?
Canva Free gives you access to basic templates, limited stock elements, and standard exports, while Canva Pro unlocks background removal, transparent PNG exports, premium templates, brand kits, and a much deeper library of fonts and graphics. For print on demand specifically, transparent background export is the feature that matters most, since most platforms reject designs with a visible white box around them.