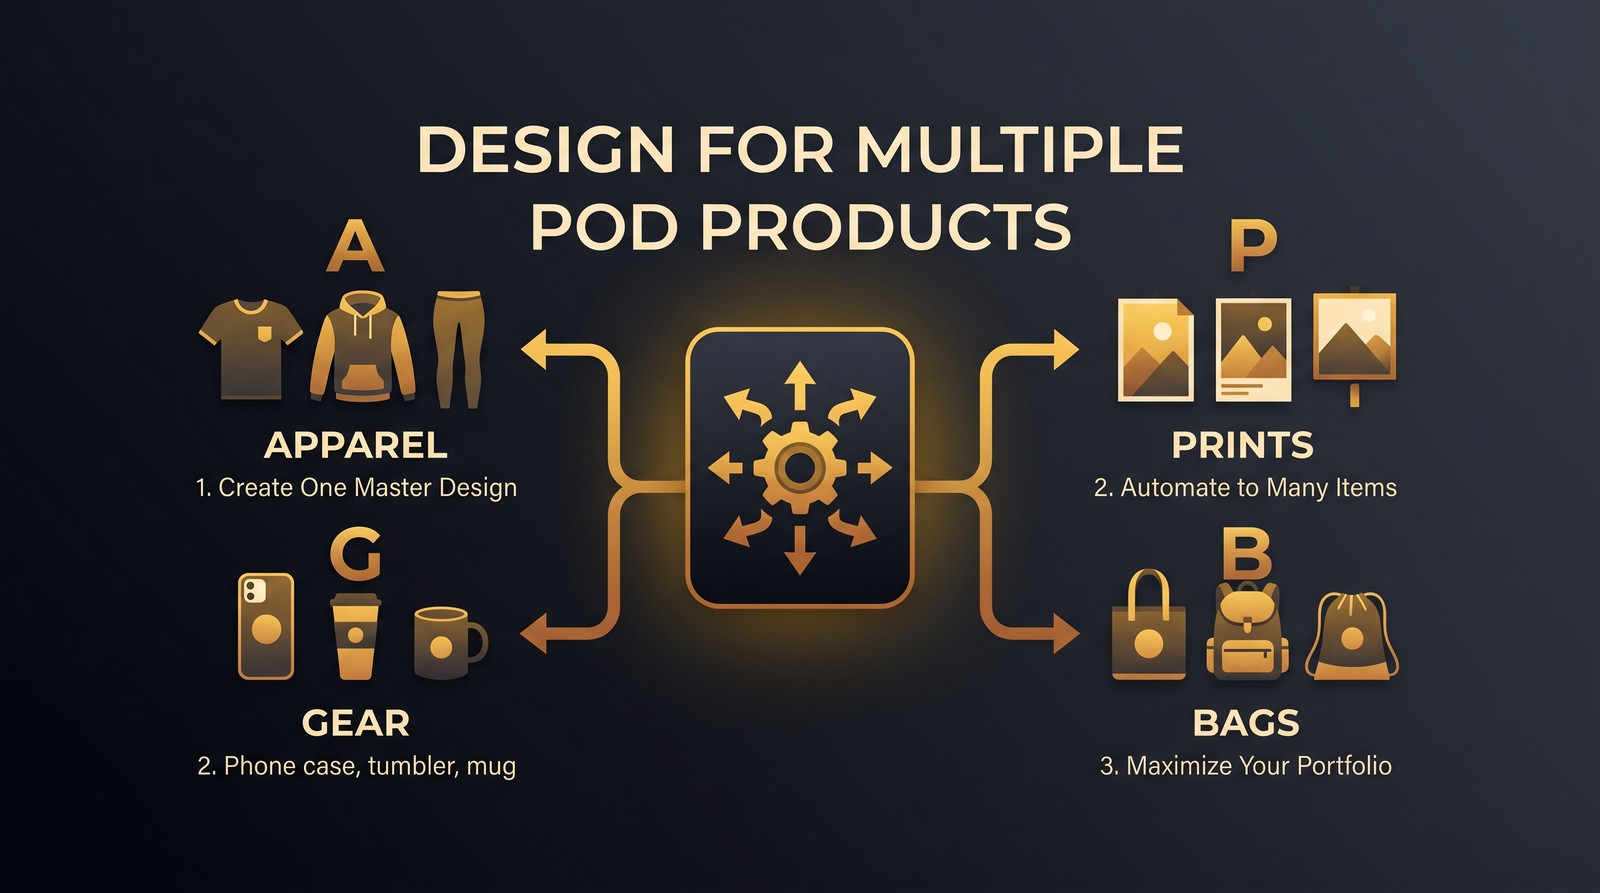
Here's how most POD sellers waste their design time: they create a design, export it for one product, list it, and then start a completely new design for the next product. They're treating every product as an isolated creative project when they could be treating each concept as a system that generates 10-15 products.
We've watched sellers spend 40 hours a month on design work while producing 15-20 new products. The most efficient sellers we know spend the same 40 hours and produce 100-150 products. The difference is systematic design - and it's learnable.
What Is a Multi-Product POD Design System?
The core principle: your creative energy goes into the concept and execution of the core design. The adaptation work - resizing, repositioning, adjusting for product-specific constraints - is systematic and largely mechanical.
A design system works in layers:
- Core concept - The idea, message, or visual that the design communicates
- Master file - High-resolution, vector-based design in the most flexible format
- Product templates - Pre-built files sized to each product's exact requirements with safe zones marked
- Adaptation workflow - The process for placing the master design into each template efficiently
- Export standards - Consistent file naming, format, and quality settings for each product type
Build this system once and every new design you create generates 10+ products almost automatically.
Understanding Product Specifications Before You Design
The biggest waste of design time is creating a design and then discovering it doesn't work for a product you wanted to use it on. Know your product specs before you open your design software.
Here are the critical specifications for the most common POD products:
Apparel (T-shirts, Hoodies, Sweatshirts)
- Print area: Front chest - typically 12x16" maximum, centered 3-4" below collar
- Back full print: Up to 14x18"
- Resolution: 300 DPI at print size
- File format: PNG with transparent background (CRITICAL - no white box around the design)
- Color mode: RGB (screens display RGB; suppliers convert to CMYK for printing)
- Safe zones: Keep design 0.5" away from print area edges to avoid cutoff
Mugs
- Standard 11oz mug wrap: 8.25" x 3.75" (full wrap around entire mug)
- 15oz mug: 9.25" x 4"
- Resolution: 300 DPI
- File format: PNG or JPG, no transparency needed
- Critical: Account for the handle position - avoid placing key design elements where the handle attaches (typically the left side of a right-hand wrapped image)
Throw Pillows
- Standard 16x16": Design file 16x16" at 300 DPI
- 18x18": 18x18" at 300 DPI
- File format: PNG or JPG
- Safe zones: Keep important elements 1" from edges to account for seam allowance
Tote Bags
- Print area: Approximately 13x15" (varies by supplier)
- Resolution: 300 DPI
- Transparent background: Required for designs that shouldn't show white
- Positioning: Centered on front face of bag
Art Prints/Posters
- Multiple sizes: Design at largest size (e.g., 24x36") and scale down
- Resolution: 300 DPI at the largest size
- Color profiles: Some print services prefer sRGB, others Adobe RGB - check supplier specs
- Bleed area: Add 0.125" bleed on all sides for full-bleed prints
Canvas Prints
- Same as art prints but account for gallery wrap - design wraps around the edges
- Extended canvas: Add 1.5" (the wrap depth) to all sides beyond your intended front face design
- Safe zone: Keep focal elements at least 2" from edge to avoid wrapping onto sides
Garden Flags
- Standard size: 12x18"
- Resolution: 150-200 DPI minimum (large format)
- Double-sided: Create both faces; images typically mirror
- Sleeve allowance: Top 2" typically forms the sleeve - keep this area simple or intentionally blank
Coasters
- Standard round: 3.75" diameter at 300 DPI
- Standard square: 3.75" x 3.75"
- Safe zone: Keep design 0.25" from edges to account for die-cut variation

Building Your Master Design File
The master design file is the foundation of the entire system. Get this right and everything downstream is easy.
Master file requirements:
-
Vector format - Adobe Illustrator (.ai) or Affinity Designer preferred. SVG files work. Canva designs should be exported as high-resolution PDFs or PNGs.
-
Minimum 300 DPI at 12" x 12" - This gives you a 3600x3600 pixel file which is sufficient for almost every product type except very large canvas prints.
-
Organized layers - Separate text, graphics, and background on distinct layers. This makes hiding or adjusting elements for specific products fast.
-
Text outlined - Convert all text to outlines/paths so fonts don't matter in export.
-
Color swatches saved - Save your exact colors as named swatches for consistent reproduction across products.
The "design engine" approach: Create a core design in roughly square format (12x12" or 10x10"). This size adapts to almost any product more easily than a horizontal or vertical design as your starting point.
The Adaptation Workflow: Design Once, Export Everywhere
Here's the systematic process for taking one master design to 10+ products:
Step 1: Build Product Templates
Create a folder with blank template files for each product type. These templates have:
- Correct document dimensions
- Print area boundaries clearly marked
- Safe zones as a colored overlay layer (turn off for export)
- Correct color profile and resolution settings
Build these templates once. You'll use them for every design forever.
Step 2: Place the Master Design
Open the template for Product A. Place your master design file (File > Place/Link in Illustrator). Scale and position to fit within the safe zone while maintaining design integrity.
Key decisions at this stage:
- Does the design need to be scaled? Cropped? Does it still read well at this size?
- For full-wrap products (mugs, some pillows), does the design repeat, tile, or show a single centered image?
- For products with very different aspect ratios (garden flags, tote bags), does the design need to be rearranged?
Step 3: Product-Specific Adjustments
Some products need specific adaptations beyond simple scaling:
Mugs: Account for the handle. Position the main visual element 60-70% across the mug face from the right (the area most visible when a right-handed person holds the mug).
Apparel with sleeve designs: The chest design is your main file. Sleeve designs need separate files sized to the sleeve print area (approximately 3-4" wide strips).
All-over-print apparel: Completely different workflow - create a seamless pattern or full-coverage design rather than a centered graphic. This is a specialized skill worth learning separately.
Round coasters: Circular product requires confirming the design works in a circular crop. Square designs with corner elements often fail in this format.
Step 4: Export With Consistent Standards
Export naming convention: [design-name]-[product-type]-[size].png
Example: golden-retriever-fall-tshirt-12x16.png, golden-retriever-fall-mug-standard.png
This naming makes bulk uploads much faster - you can identify the right file without opening it.
Resolution check before export: Zoom to 100% in your design software. If it looks pixelated at 100%, it will look pixelated in print. Vector elements should always look sharp. Raster elements (photos, textures) need at least 300 DPI at print size.
Design Strategies for Multi-Product Application
Some design types adapt better across products than others. Here's how to think about design choices with multi-product application in mind:
Designs That Work Everywhere
Centered text-based designs - A clean typographic design works on a t-shirt, a mug, a coaster, a tote bag, and a throw pillow with minimal adaptation. The square-friendly layout of most text designs is universally adaptable.
Simple icon + text combinations - A small icon above or beside text is the single most versatile POD design format. It scales up and down cleanly, reads well in any size, and adapts to any product shape.
Pattern/repeat designs - Seamless patterns apply to almost any product type. Apparel, home decor, accessories - all accept patterns. Learning to create basic seamless patterns is one of the highest-leverage design skills in POD.
Designs That Cause Multi-Product Problems
Horizontal landscape compositions - These work great on mugs but adapt poorly to tall vertical products (phone cases, garden flags) and square formats (coasters, throw pillows).
Designs with fine detail - Intricate line work that looks beautiful on an art print will disappear entirely on a small tote bag pocket or sticker. If a design requires fine detail, plan which products it suits and skip the ones where it will fail.
White background designs - White backgrounds on apparel look terrible. Always check whether your design works with a transparent background before listing on apparel. White works fine on home decor.
Color Considerations Across Products
Color behaves differently across product types because of different print methods.
DTG (Direct-to-Garment) for apparel: Good color reproduction but dark shirt printing requires a white underbase that can dull colors slightly. Test your palettes on both light and dark garments.
Sublimation for mugs, coasters, some pillows: Extremely vibrant color reproduction. Colors in sublimation often appear more saturated than your screen preview. If you're designing for sublimation products, test samples because colors can be more vivid than expected.
Fine art printing for prints/canvas: Most consistent with your screen preview when you're using an sRGB color profile. CMYK color profile designs sometimes shift when converted.
Practical rule: Keep a "POD safe palette" - colors you've tested across multiple product types that reproduce predictably. Document which hex codes you use and check samples every time you add a new supplier.
Tools for Multi-Product POD Design
Adobe Illustrator - Industry standard. Vector-native, integrates with Photoshop, excellent export controls. Monthly subscription cost is justified for serious POD sellers.
Affinity Designer - One-time purchase alternative to Illustrator. Strong vector capabilities, good for most POD design needs.
Canva Pro - Not ideal for production-quality POD, but accessible for beginners. Acceptable for simple text designs and basic graphics. Upgrade to Illustrator before you scale.
Adobe Photoshop - Essential for any photo-based or textured designs. Use alongside Illustrator for designs combining photos with vector elements.
Procreate (iPad) - Excellent for hand-drawn illustration styles that differentiate from the typical POD aesthetic. Export as high-resolution PNG and bring into Illustrator for final product preparation.
For uploading your finished files to POD platforms efficiently, Merch Titans handles the bulk upload process - connect your design files to product types and push to multiple platforms without manual entry for each listing.

Building Your Design System in Practice
Here's how to build your multi-product design system starting this week:
-
Create your product template folder - Build one blank, properly-spec'd template for each product type you sell. Label them clearly.
-
Design your first master concept - Create a design in your core niche in square format (10x10" or 12x12"), saved as an Illustrator or Affinity file with organized layers.
-
Open each template and adapt the design - Start with the products you sell most. Adapt, adjust for safe zones, and export.
-
Name all exports consistently - Follow the naming convention from the start. You'll thank yourself at 200+ designs.
-
Document what worked and what didn't - Which adaptations required significant rework? Why? Add a note to that product template as a reminder for next time.
-
Repeat the process for 10 designs - By your 10th master design, the system will feel natural. Adaptations that took 20 minutes initially will take 5.
The most important shift is mental. Stop thinking "I'm creating a t-shirt design" and start thinking "I'm creating a design concept that will live on 12 products." That framing changes every decision you make in the design process.
More products per design hour. More catalog coverage per month. More revenue per creative investment. That's what a design system actually delivers.
For more on structuring your overall product catalog, see our guide on building a print on demand product portfolio. And when you're ready to upload your multi-product designs at scale, Merch Titans bulk publishing tools cut the manual listing work by 90%.
Frequently Asked Questions
How do you design for multiple print on demand products at once?
Designing for multiple print on demand products at once requires creating a master design in vector format at high resolution, then adapting it to each product's specific dimensions, safe zones, and print method requirements - a single concept can generate 10-15 products in the time most sellers spend on one.
What file format should I use for print on demand designs?
PNG files at 300 DPI are the standard for most print on demand products, but vector SVG files are the most versatile because they scale to any size without quality loss. Transparent backgrounds are required for apparel products; solid backgrounds work for home decor.
What resolution do print on demand designs need to be?
Print on demand designs need a minimum of 150 DPI at print size, with 300 DPI strongly recommended for sharp results. For large format products like canvas prints or garden flags, check your specific supplier's requirements - some require files sized to the exact print dimensions at 150-300 DPI.
Can the same design be used on different POD products?
The same design concept can be adapted for different POD products, but direct file reuse without adaptation usually produces poor results - each product type has unique dimensions, print area constraints, and safe zones that require specific file preparation. A design system approach adapts the core concept efficiently.
What software is best for creating print on demand designs for multiple products?
Adobe Illustrator is the professional standard for multi-product POD design because vector files scale perfectly to any product size. Affinity Designer is a strong budget alternative. Canva works for beginners but has resolution limitations that affect quality at larger print sizes.